Homemade Olive Oil Soap Part 2
Part 2 - The Process
In this post we will detail our approach to the soap crafting process. The recipe we used is simple and easy to follow, listed below in no particular order are the ingredients.
In this post we will detail our approach to the soap crafting process. The recipe we used is simple and easy to follow, listed below in no particular order are the ingredients.
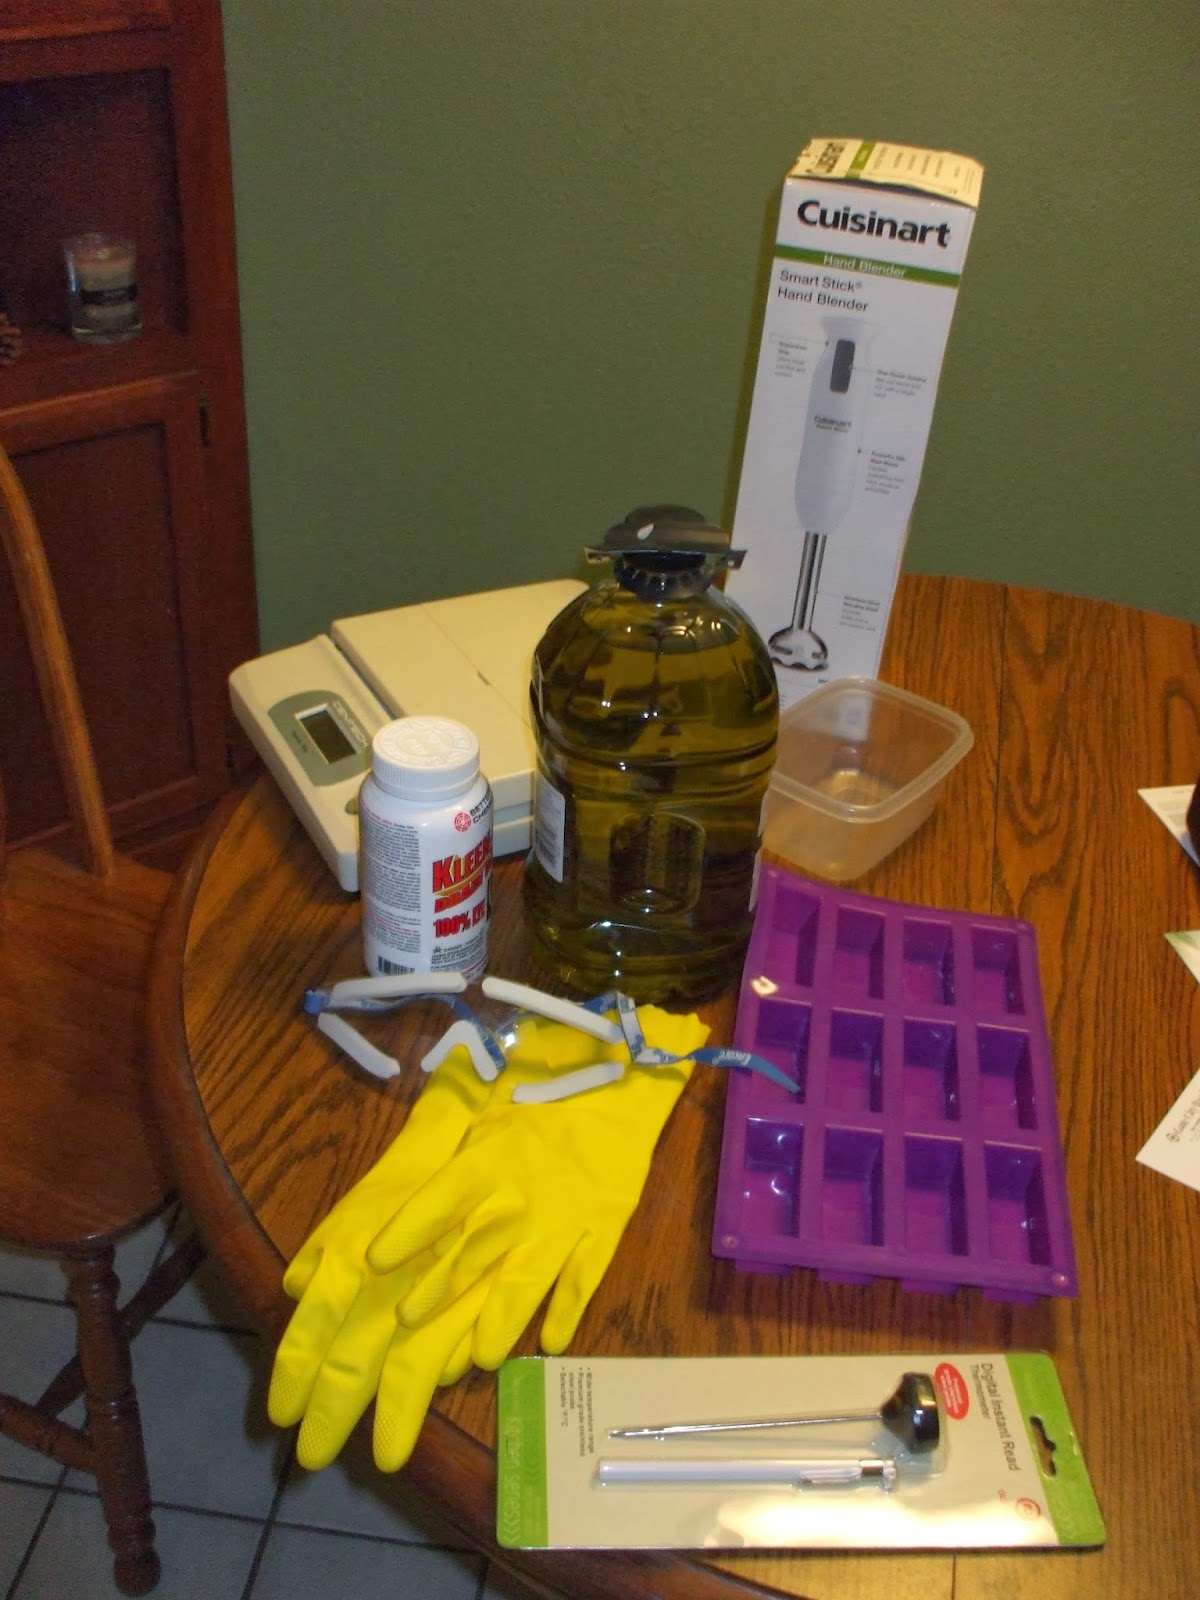
- 2 oz - Lye
- 16 oz - Olive Oil
- 6 oz - Water
- Scale - Preferably accurate to the 0.01 oz but we made do with a shipping scale only accurate to 0.1 oz
- Thermometer - Working range of 100F to 150F, 2 thermometers are ideal
- Bowl - Used to mix the lye/water solution, be careful as the lye can etch glass products
- PPE - Personal Protective Equipment, lye is caustic and can cause skin irritation and blindness if contacted on your eyes, rubber gloves and safety goggles people
- Kettle/Pot - Used to heat the olive oil and mixing vessel
- Wand Blender - Used to accelerate the saponification process by emulsifying the oil, lye, and water
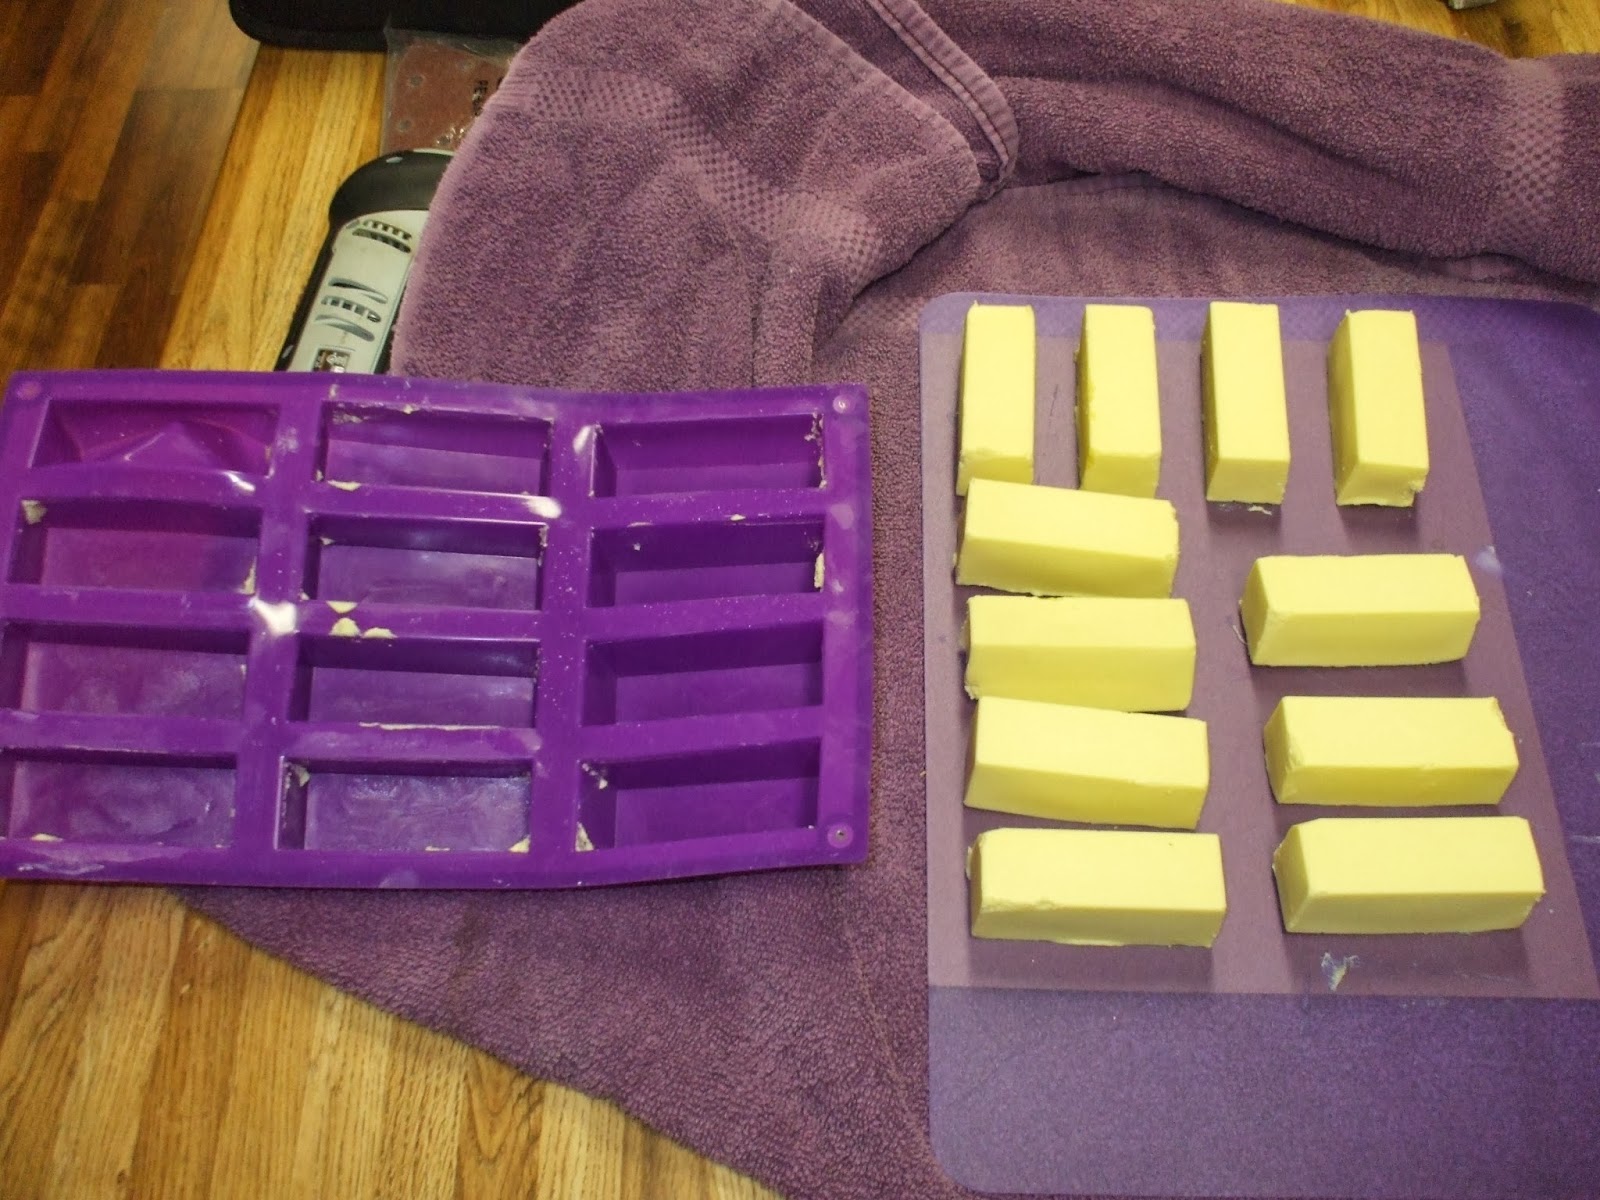
- Soap Mold - We used a silicon 2 oz bar mold, if using wood molds be sure to line them with parchment paper
Making Soap
- Begin by measuring out the ingredients; 6 oz of water into a bowl, 16 oz of olive oil into the pot, and 2 oz of lye (soon to be added to the water)
- Add the 2 oz of lye to the 6 oz of water and carefully stir until lye is dissolved. Warning: this will cause a chemical reaction producing harsh fumes and will heat the water (> 150F). Make sure you have adequate ventilation and children are not around for this step.

- Start heating the 16 oz of olive oil. The goal is to combine with the lye/water solution when both are at a temperature between 110F - 125F. 16 oz of olive oil does not take long to heat so I would start on low.

- Begin monitoring the temperature of both liquids, 2 thermometers are ideal but can be done by switching back and forth.
- Once the temperature criteria is met slowly stir in the lye/water to the olive oil. You turn the heat off at this stage.
- Now begin blending/emulsifying the oil/lye mixture until the mixture reaches "trace", varies on blender speed, about 4 - 8 min. Trace can be described as the state when the oil/lye mixture is viscous enough to leave "trace" marks from the wand blender or whisk.

- Pour the mixture into your mold. Shaking the mold will help settle the mixture and prevent air bubbles.

- Cover and insulate the mold with a piece of cardboard and some towels.

- After 36 - 72 hours, remove the soap from the mold and allow to cure in the air, turning the bars every 2 - 4 days to prevent trapping moisture. We removed our bars at 48 hours and they were still quite soft, recommend waiting closer to 72 hours.
- The soap will be ready for use after 4 - 8 weeks of curing and the quality will improve with age. Most store brand soaps are cured for a year.


Comments
Post a Comment